



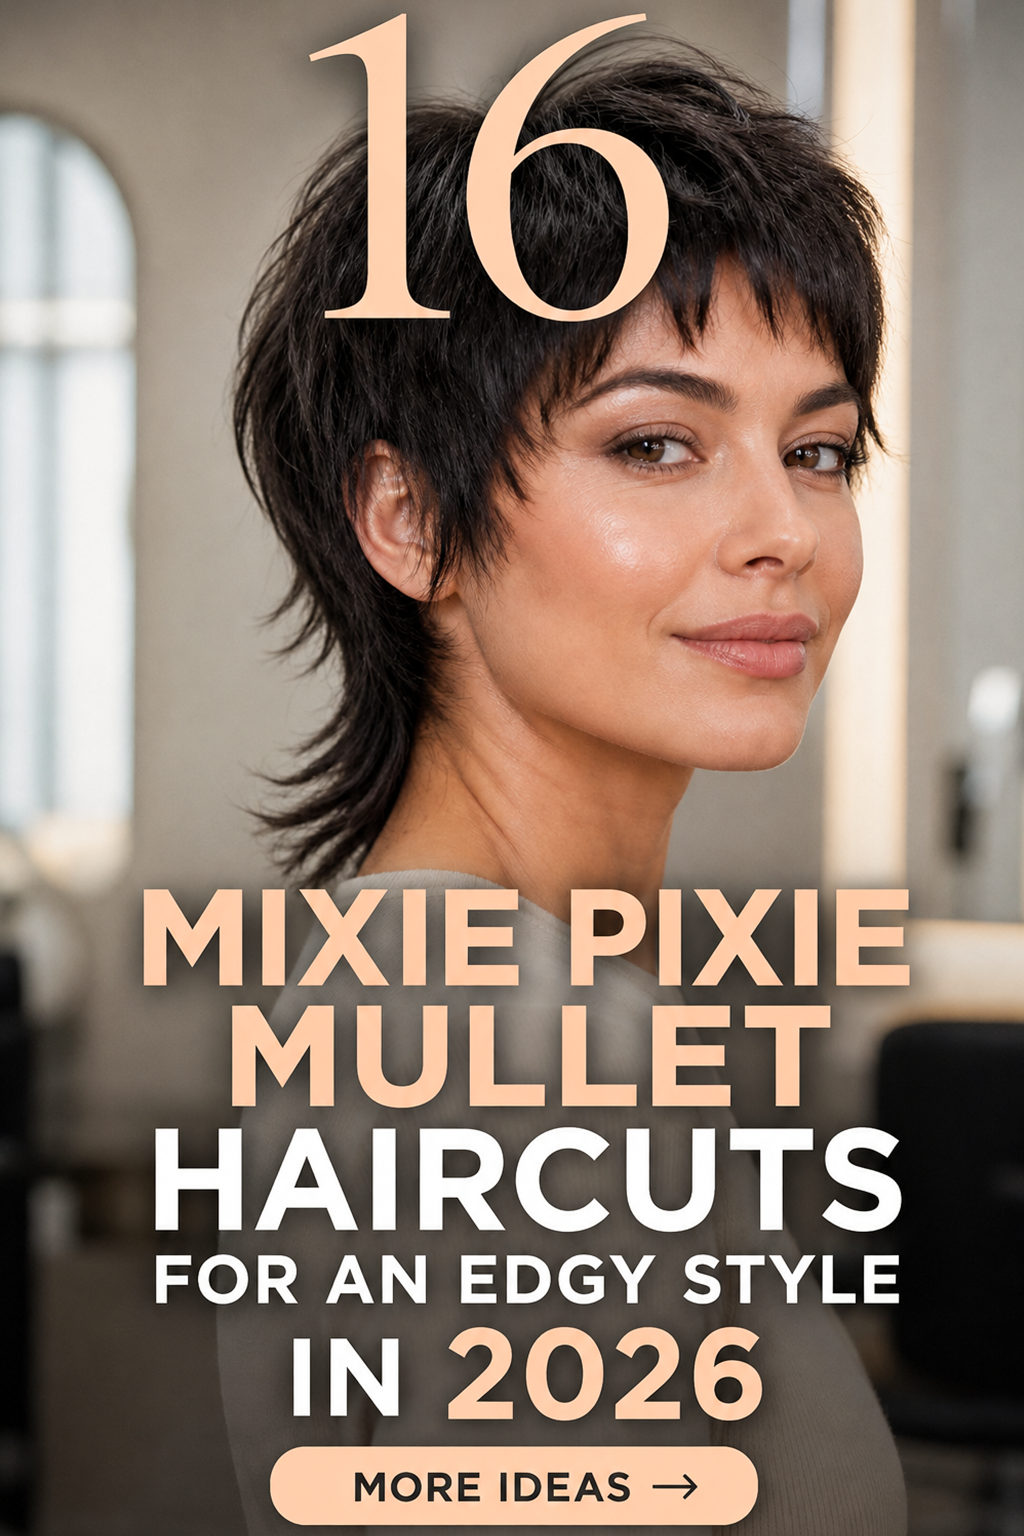
A pixie mullet haircut earns its edge honestly: crop the crown, shave or taper the sides, then leave the nape long enough to move. That contrast is what separates the mixie haircut from a standard short haircut, and it’s why the style has held on as one of the defining edgy hairstyles going into 2026. The right version depends less on trend photos and more on your hair’s natural texture, density, and how much daily styling you actually want to do. If you love this edgy shape, explore these pixie cut baddie hairstyles for more bold short-hair inspiration.
Key Takeaways
- A mixie pairs a cropped pixie top with a longer, mullet-inspired nape, and the balance between the two shifts the whole mood of the cut.
- Fringe style, crown height, and nape length are the three levers that turn the same base shape soft, shaggy, or bold.
- Hair texture and density change how the cut should be layered, so the right approach for fine, thick, straight, or curly hair isn’t identical. For finer strands, these messy hairstyles for fine hair can also help create a fuller-looking finish.
What Defines a Modern Mixie?
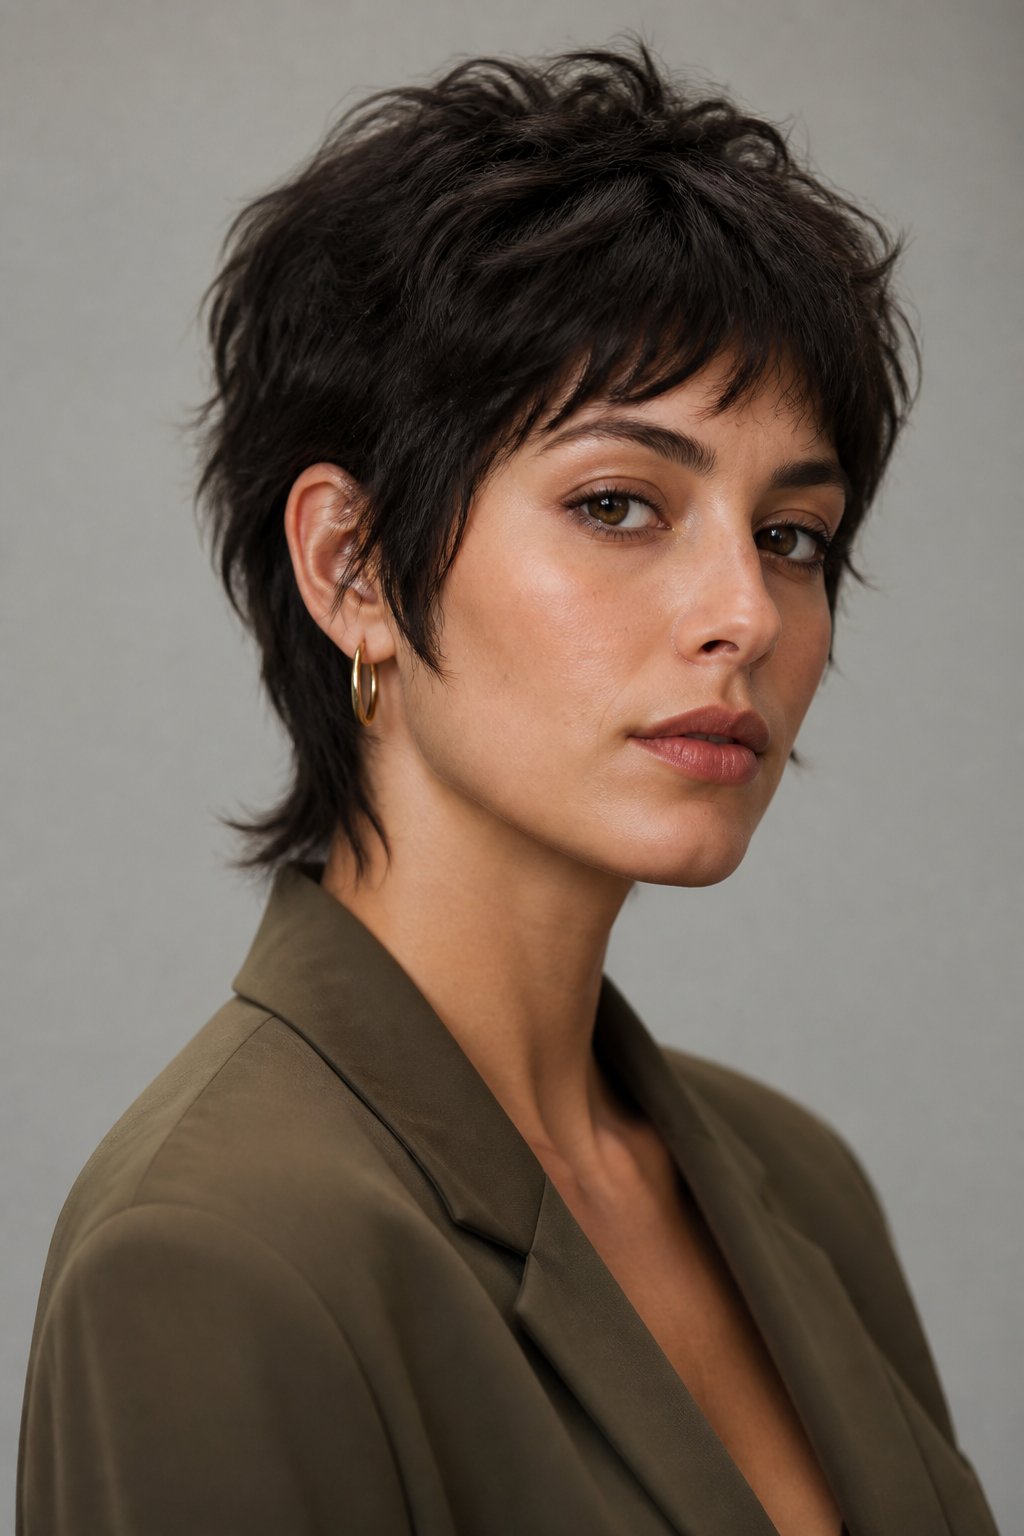

A modern mixie cut is defined by a short, cropped pixie top paired with a longer, layered mullet section left at the nape. The crown and sides stay tight and graphic, while two to five inches of length survive at the back, giving the shape somewhere to flick, curl, or fall flat depending on your styling mood, a structure described in this breakdown of the mixie haircut trend. Tapered sides and a deliberate fringe choice do most of the remaining work in shaping the finished look.
Pixie Cut vs. Mullet Haircut vs. Mixie Cut
A pixie cut keeps hair short everywhere, with no dramatic length shift between the crown and the nape. A mullet haircut does the opposite: it keeps length through the sides and back while the front stays shorter. A pixie cut mullet, or mixie, borrows the cropped face-framing of the pixie and grafts on the mullet’s elongated tail, so the short-to-long contrast becomes the entire point of the cut.
How the Crown, Sides, Fringe, and Nape Create the Shape
The crown carries the height and determines how “pixie” the cut reads from the front. Tapered sides connect that crown to the longer nape without a harsh line, unless you want a harsh line on purpose. Fringe (micro, wispy, or curtain) sets the softness level, and the tapered mullet back is where all the personality and movement live.
Mixie, Shullet, and Wolf Cut: What Is the Difference?
A shullet blends a shag and a mullet with heavy layering throughout, not just at the nape. A wolf cut keeps length and shaggy layers across the whole head rather than confining the drama to the back. A layered pixie mullet crops the crown far shorter than either, which is why comparisons between the mixie and the wolf cut describe the mixie as the tidier, more graphic option of the three.
Soft and Wearable Mixie Ideas
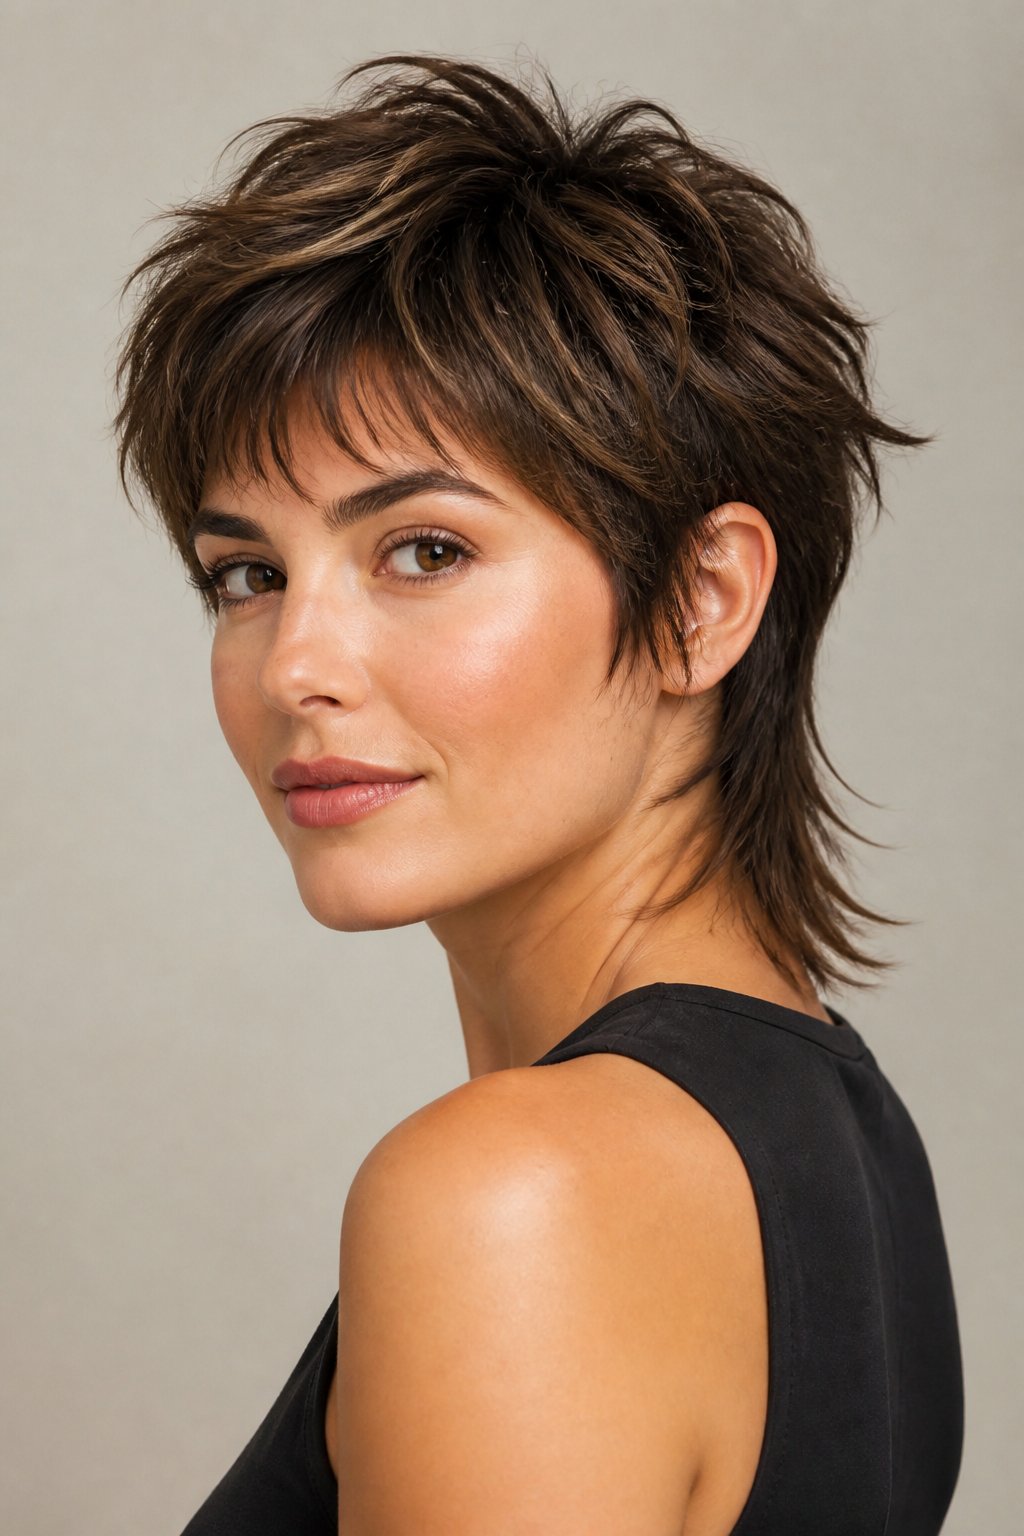
Soft mixie versions lean on feathered layers, wispy fringe, and natural waves instead of hard disconnection, which makes them easy to wear into an office or a first date without feeling like a styling project. These four looks work well as an entry point if you’re coming from longer hair and want the shape without shock value.
Feathered Mixie With Wispy Fringe
Ask for: feathered layers throughout the crown with a wispy fringe that skims the brow rather than sitting blunt.
This version keeps everything soft, including the transition into the longer nape. The wispy sideburns that often come with it frame the face without looking severe, and it works particularly well if you have a naturally round or oval face shape.
Baby Pixie Mullet With Soft Bangs
Ask for: a shorter, denser crown with soft, rounded bangs instead of a blunt baby fringe.
The “baby pixie mullet” keeps the cropped section closer to the head than a standard mixie, so it reads younger and a little more polished. Soft bangs (not the blunt baby-bang style) keep this one low-drama.
Curtain Fringe Mixie With Natural Waves
Ask for: a center-parted curtain fringe blended into the shorter sides, cut to work with your natural wave pattern.
This is one of the most requested soft mixie styles because the curtain fringe grows out gracefully and never looks like it needs an immediate trim. Natural waves activate the tousled layers without any heat styling, according to this rundown of curtain-fringe mixie styling.
Brunette Pixie Mullet With Tousled Layers
Ask for: tousled, piece-y layers through a brunette base with a longer nape left for movement.
Brunette tones let the layering show up as shadow and depth rather than shine, which keeps this version looking intentional between salon visits. It’s a genuinely low-maintenance hairstyle once the shape is dialed in.
Choppy and Textured Mixie Ideas
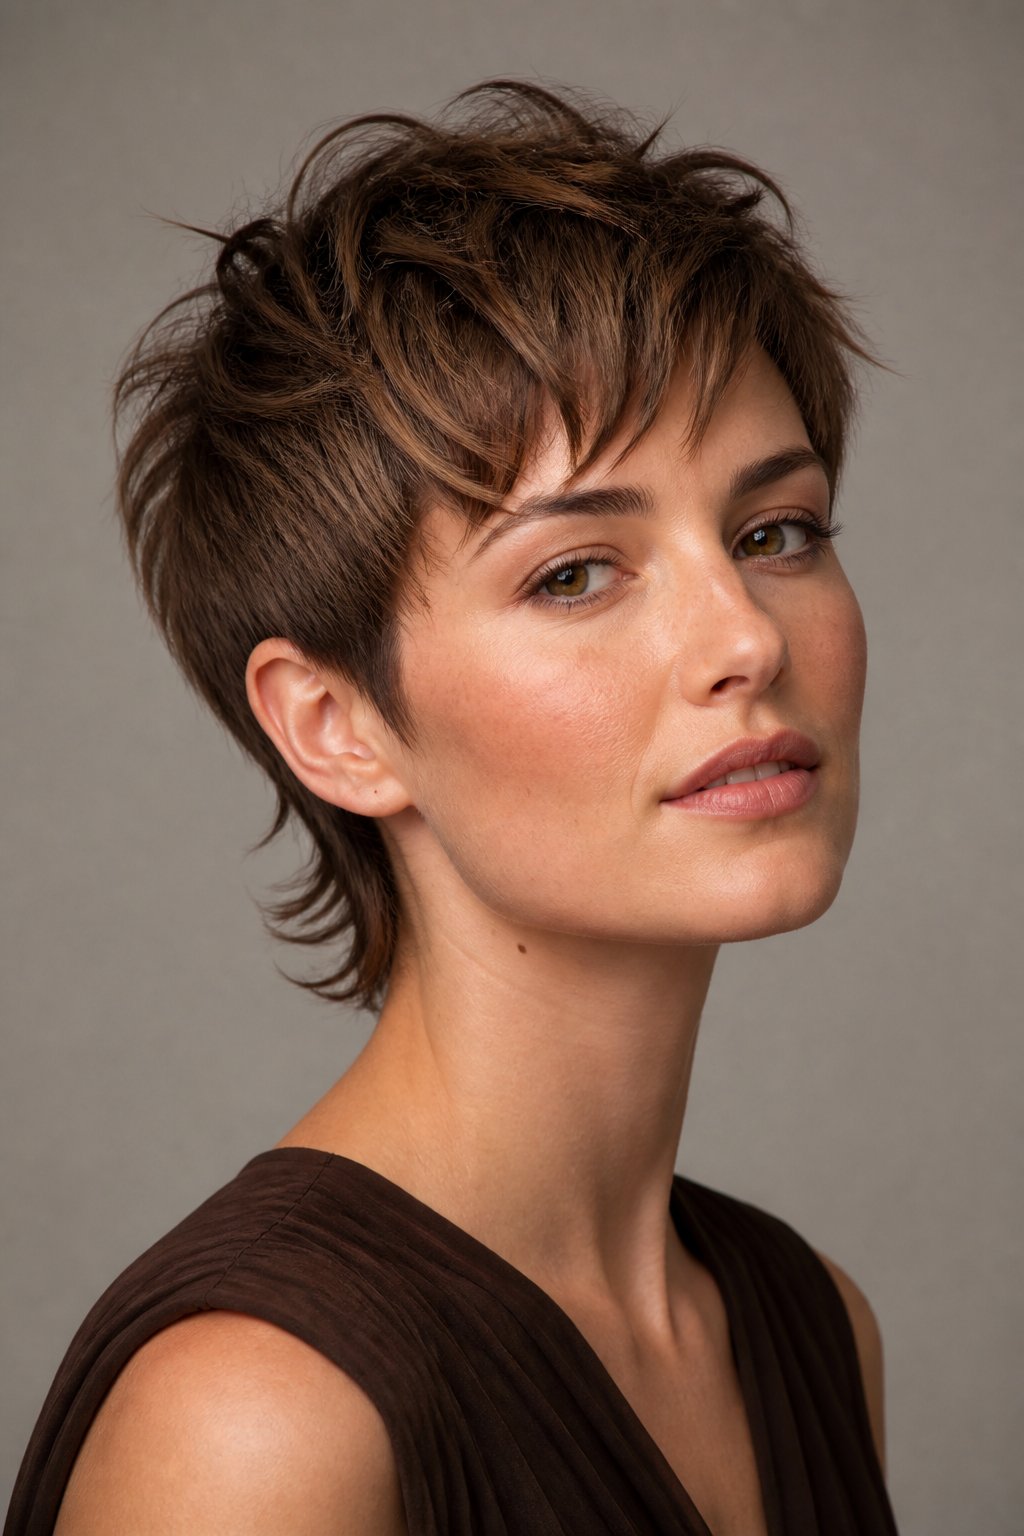

Choppy mixie ideas trade the soft blending above for razor-cut layers, piecey bangs, and more visible separation, which suits thicker or coarser hair that can carry extra texture without looking thin. These four options push the “pixie mullet shag” side of the family harder.
Shaggy Pixie Mullet With Piecey Bangs
Ask for: a shaggy pixie mullet with heavily point-cut, piecey bangs that break up the fringe line.
This is the most casual, undone version in this group. The piecey bangs keep the face-framing loose, and the shaggy nape means grow-out looks intentional for longer than a blunt cut would.
Razor-Cut Mixie With Micro Fringe
Ask for: razor-cut layers through the crown paired with a blunt micro fringe that sits well above the brow.
Razor cutting removes bulk and carves feathery ends, which works best on medium to thick hair since it can over-thin fine strands, a caution raised in this guide to razor-textured mixie cuts. The micro fringe is a commitment; expect to trim it every two weeks to keep the shape crisp.
Choppy Pixie Mullet With a Spiky Crown
Ask for: choppy layers concentrated at the crown, styled with a matte product to create a spiky, textured top.
This look leans the most “classic pixie” of the choppy group, with the mullet element confined almost entirely to the back. It photographs sharp and holds its shape well through humid weather.
Tapered Pixie Mullet for Fine Hair
Ask for: a tapered pixie mullet with point-cut, separated layers instead of heavy thinning shears.
Fine hair and thin hair look sparser, not fuller, after aggressive thinning. Point-cutting creates the illusion of density at the crown while a texturizing spray at the roots keeps the shape from going flat by afternoon.
Bold and Androgynous Mixie Ideas
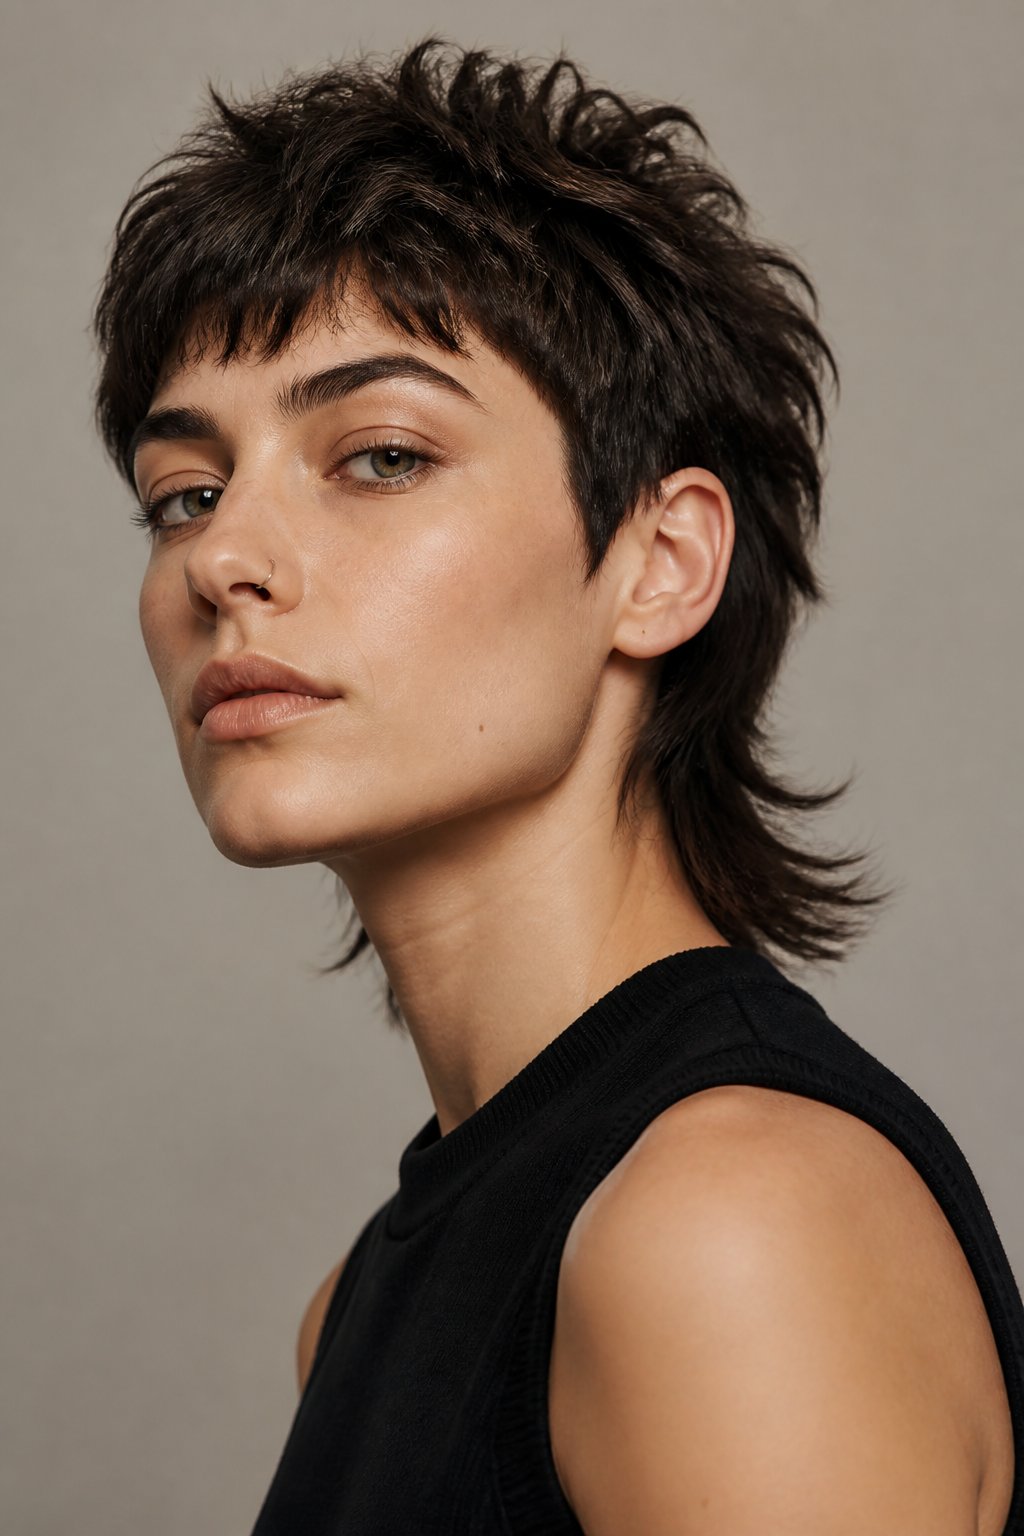
Bold mixie ideas use an undercut, shaved sides, or high-contrast color to push the androgynous pixie mullet further than the soft or choppy versions above. These four looks work for anyone who wants the cut to read as a clear style statement rather than a subtle short haircut.
Undercut Pixie Mullet With Buzzed Sides
Ask for: an undercut pixie mullet with buzzed sides graduating into a longer, textured nape and crown.
This is the most graphic version in the lineup. The buzzed sides create hard contrast against the longer back, and it’s a favorite for anyone transitioning from a wolf cut or shullet who wants more definition.
Black Pixie Mullet With a Blunt Fringe
Ask for: a jet black base with a blunt, straight-across fringe and a disconnected nape.
Black hair shows off blunt lines with more clarity than lighter shades, which makes the fringe read sharper and the disconnection between crown and nape more obvious. It’s a striking, no-apologies edgy pixie mullet.
Copper Mixie With Baby Bangs
Ask for: a warm copper tone throughout, paired with full baby bangs cut just above the brow.
Copper catches light differently than red pixie mullet shades tend to, giving the layers extra dimension. Baby bangs commit hard to the look, so be honest about your willingness to trim them every couple of weeks.
Teal Pixie Mullet With Shaved Sides
Ask for: a teal or blue pixie mullet with shaved sides and a longer, color-saturated nape.
Fantasy colors like teal and blue show up best against shaved or very short sides, since there’s more surface area for the tone to read solid. Expect more frequent toning to keep vivid color from fading unevenly.
Curly, Wavy, and Coily Mixie Ideas
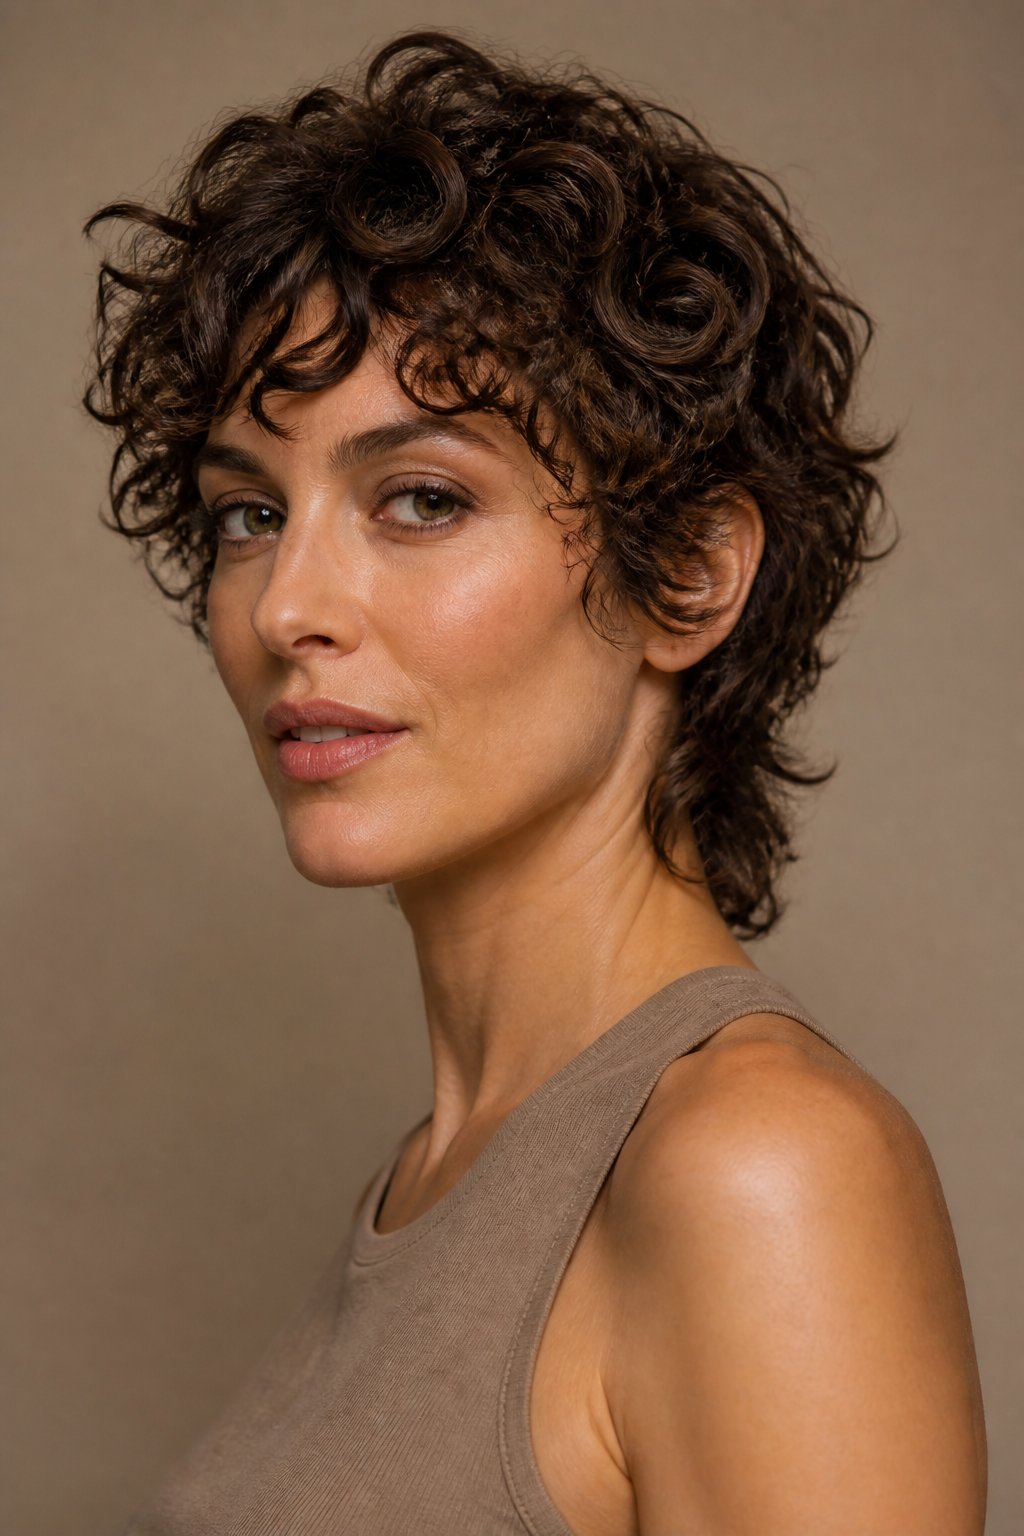
A curly pixie mullet, wavy pixie mullet, or coily mixie needs the layering cut to work with the hair’s natural shrinkage and coil pattern, not against it. These four versions show how the same short-to-long silhouette adapts across texture types.
Curly Pixie Mullet With a Rounded Crown
Ask for: a rounded crown shape that accounts for curl shrinkage, with the nape left longer since curls shrink less under their own weight.
Curls behave differently dry than wet, so a stylist cutting curly hair should shape it dry or let it dry between passes. This avoids an accidentally uneven crown once the curls spring back up.
Wavy Pixie Mullet With Side-Swept Bangs
Ask for: side-swept bangs blended into a wavy, tapered mullet back.
Side-swept bangs work with a natural part instead of fighting it, which suits wavy hair’s tendency to fall unevenly. This version needs almost no heat styling beyond a scrunch of curl cream.
Coily Mixie With a Tapered Back
Ask for: a coily mixie with a tapered mullet back that keeps length through the coils without cutting them into a triangle shape.
Coily texture holds volume at the crown naturally, so less crown-height styling is needed compared to straight hair. A stylist experienced with natural texture should shape the taper in sections to keep the coil pattern consistent.
Blonde Pixie Mullet With Defined Natural Curls
Ask for: a blonde or platinum pixie mullet with layers cut to define, not thin out, natural curls.
Blonde highlights or a full platinum pixie mullet base show off curl definition better than darker shades, since the lighter tone catches light along each curl’s shape. A lightweight texture cream defines curls without weighing them down.
How to Choose a Mixie for Your Hair and Face Shape
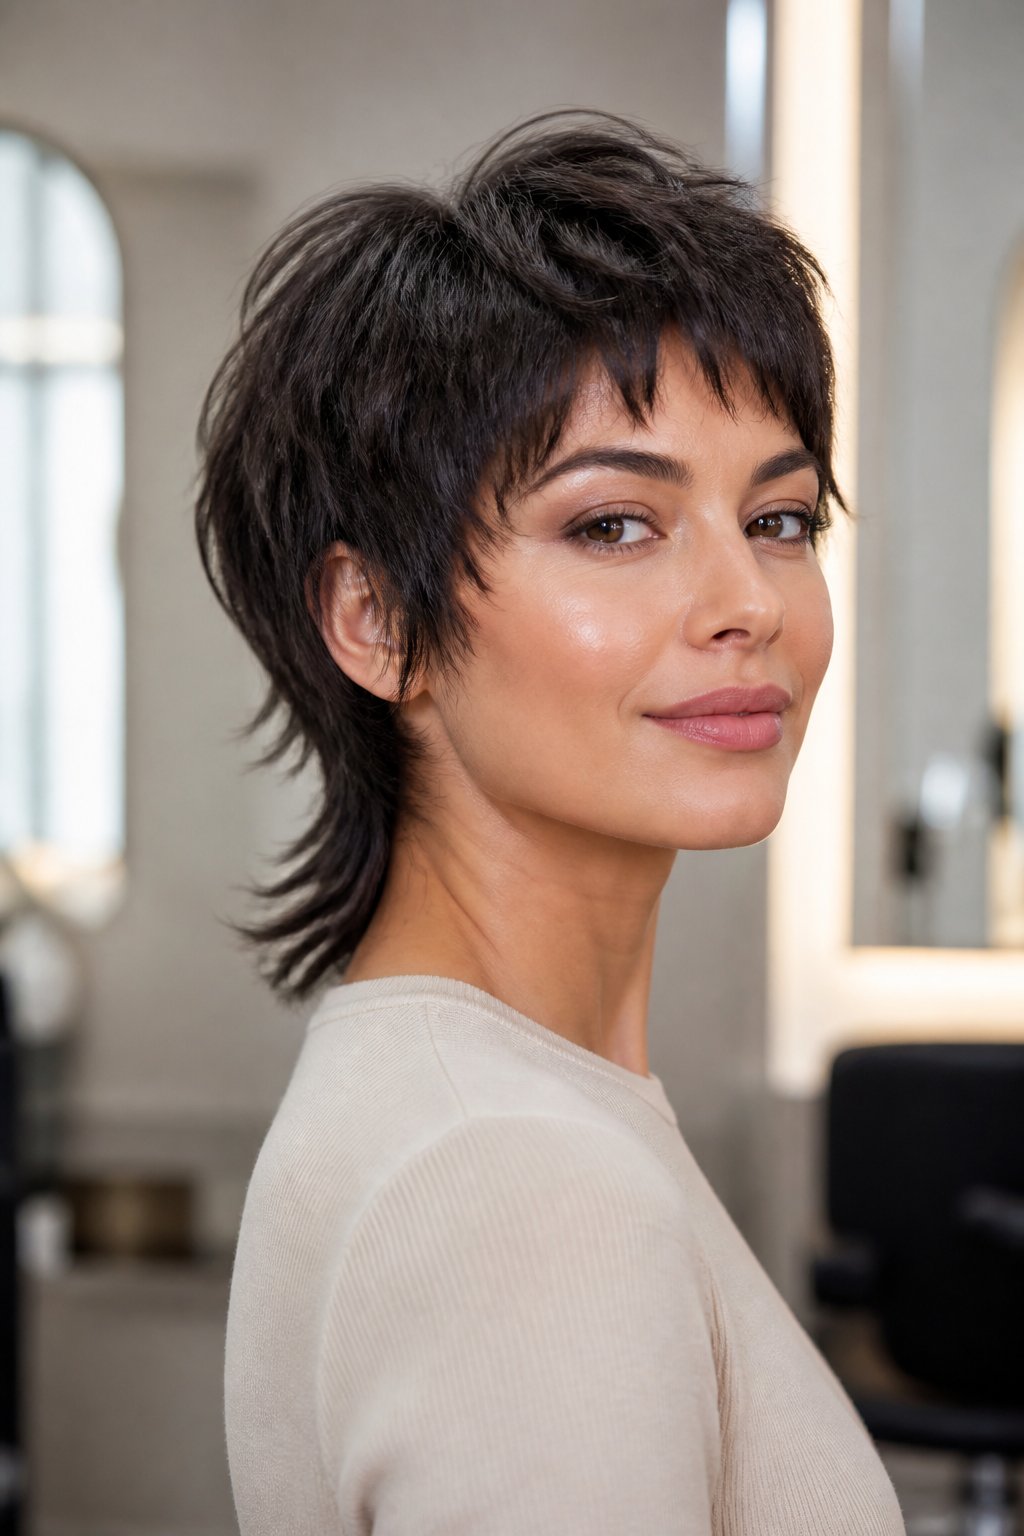
Hair density and texture should guide the layering technique more than any single trend photo. Fine hair, thick hair, straight hair, and curly hair each need a different cutting approach to reach the same balanced pixie-to-mullet shape, and fringe choice should respond to your face shape rather than whatever look is trending.
Building Volume in Fine or Thin Hair
Fine or thin hair benefits from point-cut, separated layers rather than heavy thinning shears, which can leave the ends looking sparse instead of textured. A shorter, denser crown creates the visual weight that fine hair naturally lacks. Keep the nape section a touch shorter too, since fine hair holds shape better with less length to pull it down.
Removing Bulk From Thick Hair
Thick hair can carry more aggressive layering and even razor work through the mid-lengths and nape without looking thin. Removing bulk here prevents the classic “triangle” pixie shape, where the sides puff out instead of tapering in. Ask specifically for weight removal at the perimeter if your thick hair tends to hold a blunt, heavy line.
Working With Straight Hair and Natural Texture
Straight hair shows every line clearly, so blunt fringes and sharp disconnection read crisper on straight strands than on wavy or curly ones. If your straight hair falls flat by midday, ask for slightly shorter layers at the crown and rely on a root-lifting spray. Natural texture, whether wave, curl, or coil, should be cut dry or checked wet-to-dry so the layers fall the way they’ll actually sit day to day.
Fringe Choices for Round, Heart-Shaped, and Oval Faces
Round faces gain length from a fringe with height and separation rather than one that sits flat across the forehead. Heart-shaped faces balance a wider forehead with a soft, wispy fringe instead of a blunt one. Oval faces have the most flexibility and can wear a blunt fringe, curtain bangs, or side-swept bangs without much risk.
What to Ask for at Your Salon Appointment
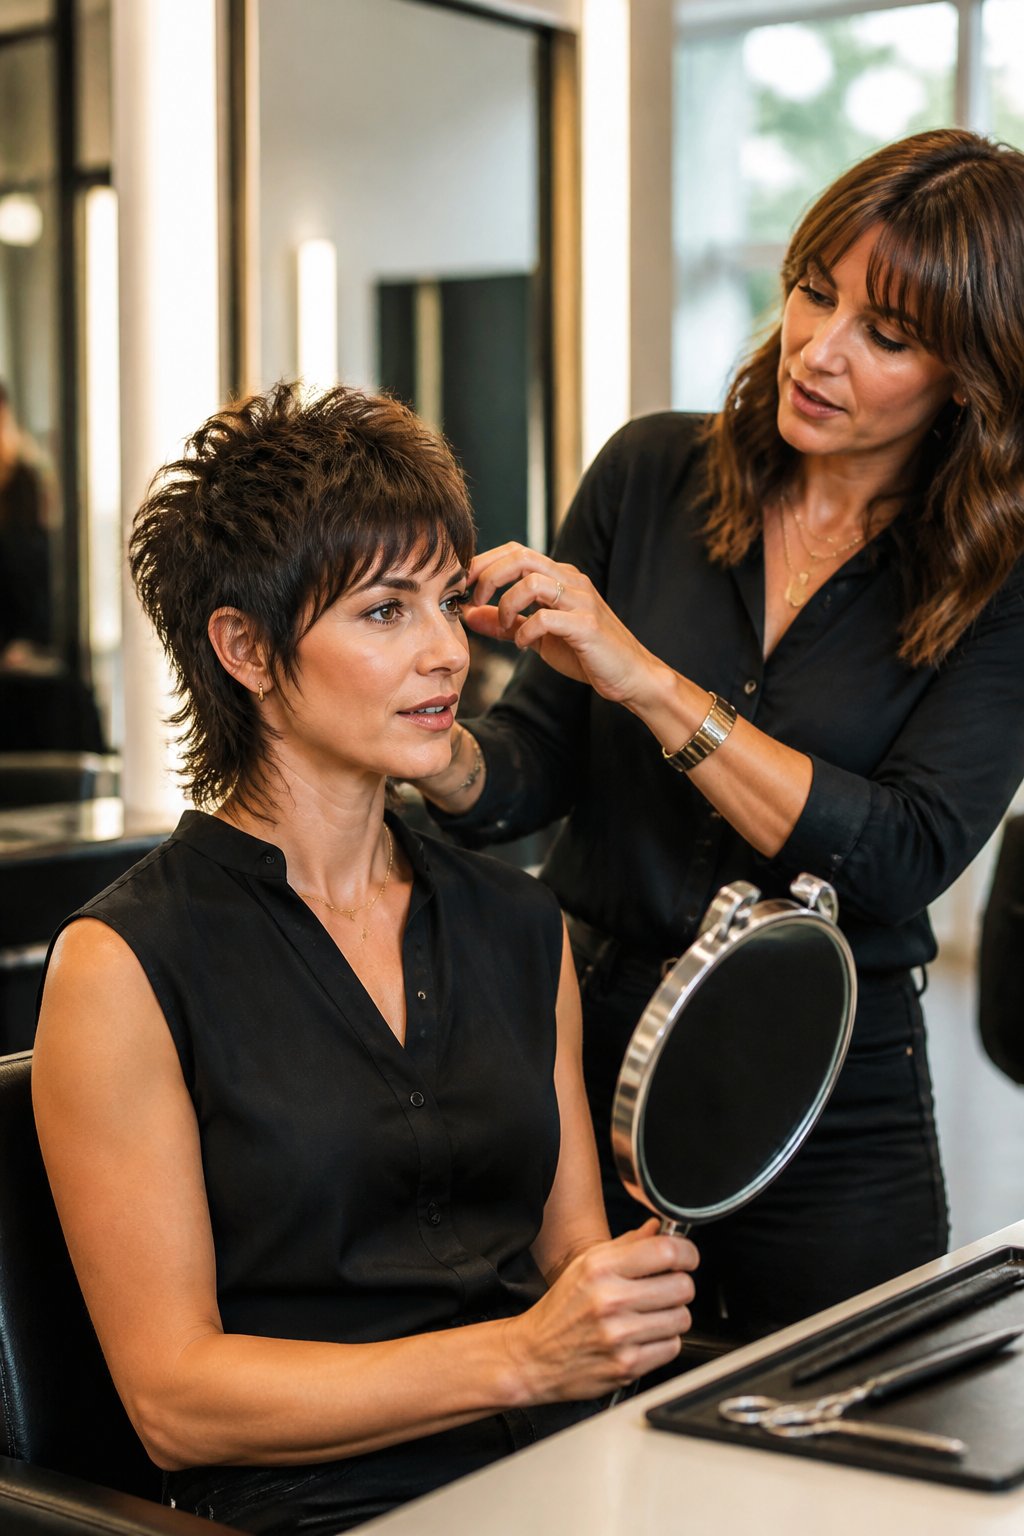
Bring specific measurements and language, not just inspiration photos, since the exact same photo can be interpreted differently depending on your existing hair length and texture. A stylist should confirm the disconnection point between your short crown and longer nape before a single cut is made, a step emphasized in this stylist tip on planning the mixie’s shape.
Set the Length of the Back Before Cutting
Decide how many inches you want left at the nape before your stylist picks up scissors. Two inches reads closer to a classic pixie mullet haircut, while four to five inches pushes toward shag or wolf-cut territory. Say the number out loud rather than gesturing at a photo, since photo interpretation varies stylist to stylist.
Choose Soft Blending or a Disconnected Undercut
A soft mixie blends the crown into the nape gradually, with no visible line. A disconnected undercut version keeps a hard, shaved-side line that shows off the length contrast more aggressively. Decide this before your appointment, since undoing an undercut means growing it out, not cutting your way back to soft blending.
Bring Reference Photos That Match Your Texture
A photo of a straight-haired mixie won’t translate directly if you have curly or coily hair, since curl pattern changes how layers fall. Bring at least one photo of the cut on hair similar to your own texture. Mention your natural curl, wave, or coil pattern even if the reference photo doesn’t show it clearly.
Plan for Grow-Out From Mixie to Shag
The mixie’s longer nape means it grows out into a shaggy lob or wolf cut more gracefully than a blunt pixie does, since the layering already exists at the back. Ask your stylist what a six-month grow-out plan looks like if you’re not ready to commit to a short haircut long-term. This matters if you’re coming from longer hair and worried about the in-between stages.
How to Style and Maintain a Pixie Mullet
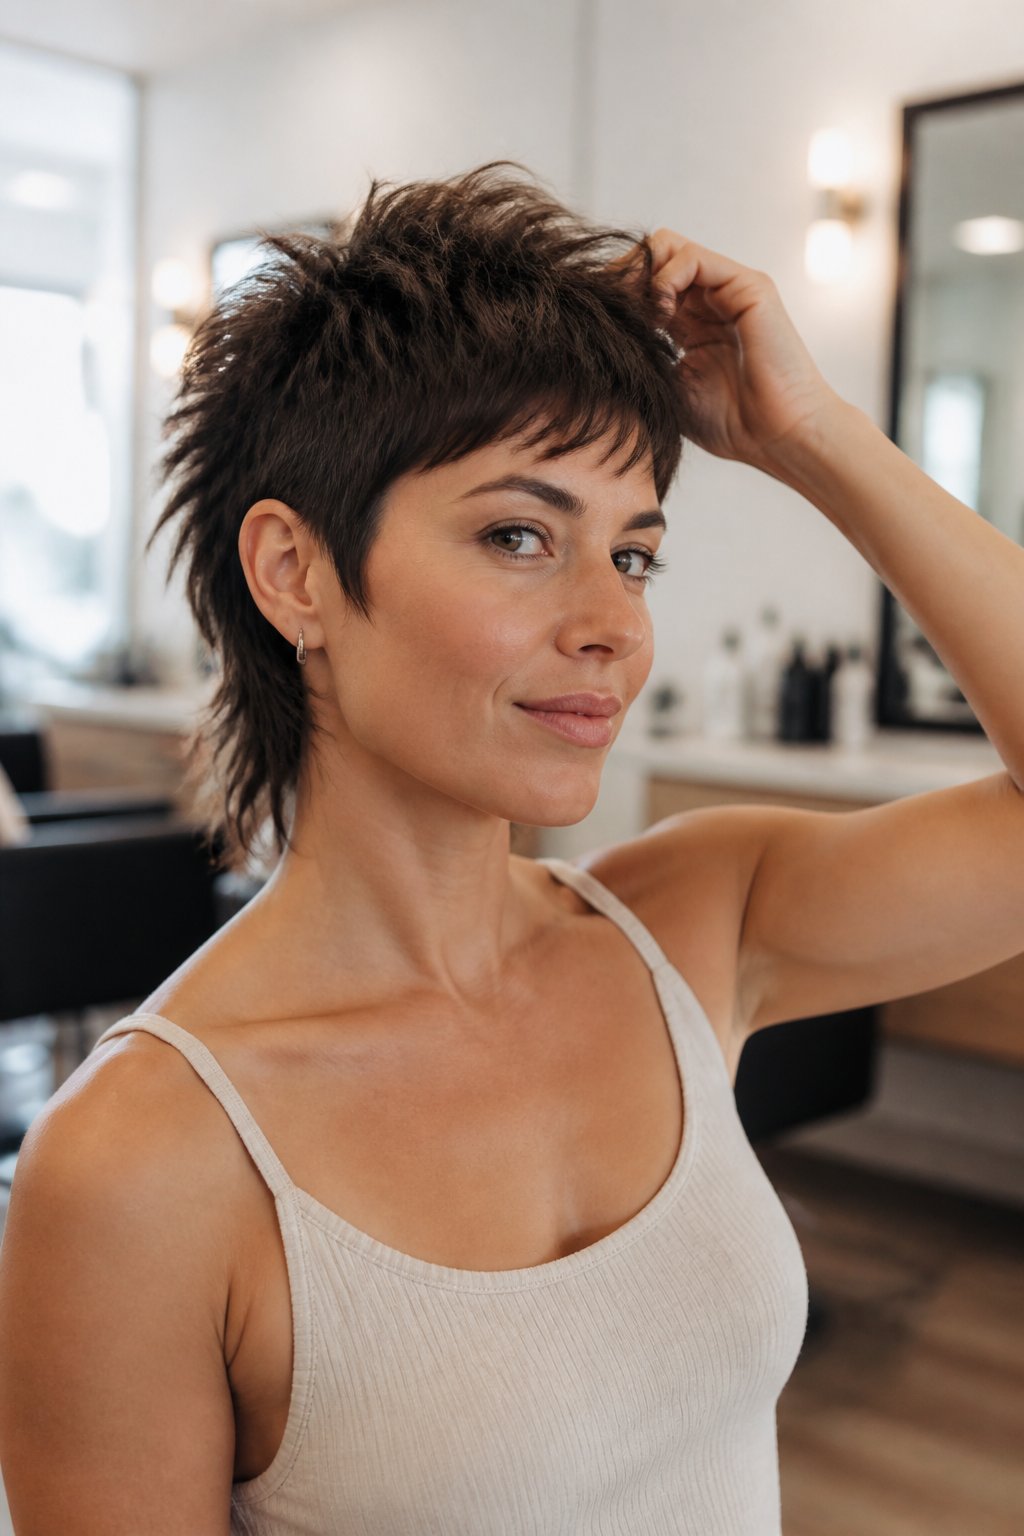
A pixie mullet needs minimal styling day-to-day once the cut is right, usually just a small amount of product worked through damp or dry hair. The routine below covers the three products worth keeping on hand and how often to book a trim.
Air-Dry Styling for Natural Movement
Let the cut dry naturally whenever your schedule allows, since air-drying shows off the layering and natural texture without flattening it under a brush. Scrunch a curl cream or texture cream into damp lengths if you have wave or curl, then leave it alone. Skip the brush entirely; combing flattens the separation that gives the mixie its shape.
Create Piecey Definition With Matte Paste
Work a pea-sized amount of matte paste between your fingertips, then press it into dry ends to create piecey, separated layers. This step is what turns a flat-drying cut into a textured one. Too much product weighs fine hair down, so start small and add more only if needed.
Refresh the Crown With Texture Spray and Dry Shampoo
A texture spray at the roots rebuilds lift at the crown when hair starts falling flat, and dry shampoo does double duty by absorbing oil and adding grip for restyling. This combination stretches a fresh cut’s shape by a day or two between washes. Focus both products at the roots and crown rather than the ends.
How Often Should a Mixie Be Trimmed?
A shorter, cropped mixie needs a trim roughly every four to six weeks to keep the crown from looking heavy, though the nape holds its shape a little longer. A shaggier, longer-nape version can stretch further between visits since the grown-out layers already look intentional. A micro fringe is the exception and needs attention every two weeks if you want it crisp.
Finding the Mixie That Feels Like You
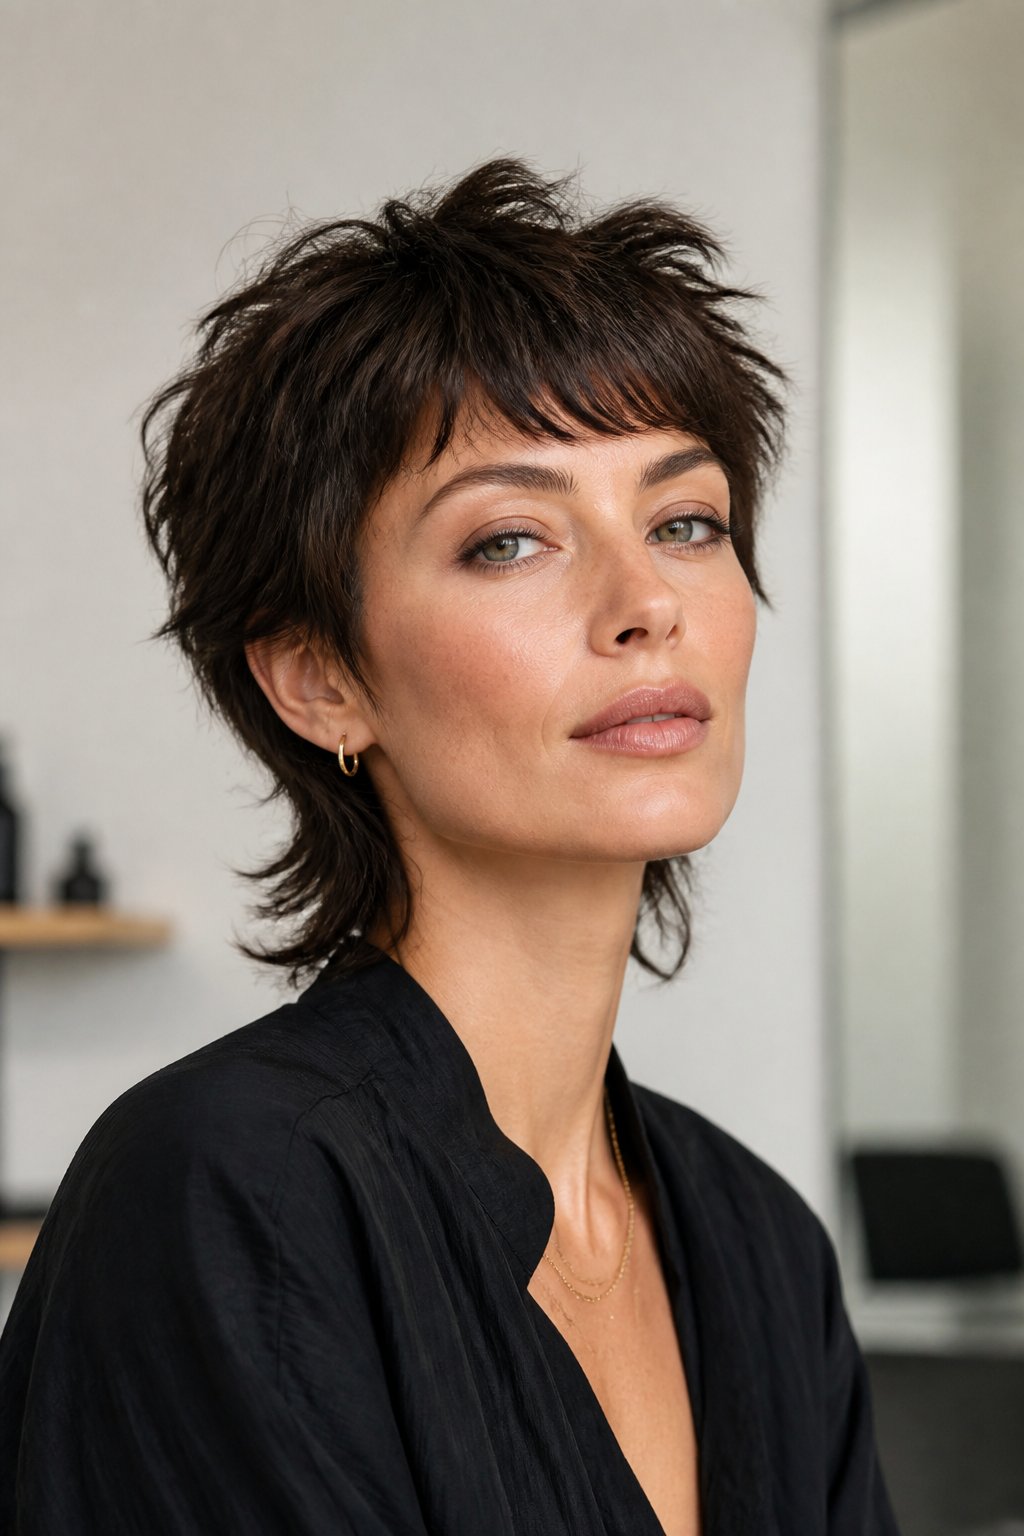
The right mixie haircut comes down to how much contrast you want between the cropped top and the longer nape, and how much daily styling fits your routine. A soft, feathered version and a disconnected undercut version are technically the same base shape, cut to completely different effect. Neither is more “correct” than the other.
Start with your hair’s natural texture and density, since that determines whether razor work, point-cutting, or heavier layering gets you the healthiest-looking result. From there, fringe style and nape length are the easiest details to adjust without starting over. A textured pixie mullet, a low-maintenance hairstyle version, and a fully edgy pixie mullet can all come from the same conversation with your stylist, just with different answers to how much length and drama you want left at the back.
Frequently Asked Questions
What is the difference between a mixie and a pixie mullet?
The terms are used interchangeably in most salons and describe the same hybrid cut: a cropped pixie top paired with a longer, mullet-inspired nape. “Mixie” is simply the shorthand name that’s become more common in recent style coverage. Both terms point to the same short-crown, long-nape silhouette.
Are pixie mullets still in style in 2026?
Pixie mullets remain one of the most requested short haircuts going into 2026, with coverage describing the trend as continuing to grow across salons, including this roundup of 2026 pixie mullet styles. The style’s appeal comes from its flexibility across hair textures and its low daily styling demand.
How do you style a pixie mullet without heat?
Air-dry the cut with a scrunch of curl cream or texture cream worked through damp hair, then finish with a small amount of matte paste for separation once dry. This works especially well on wavy or curly hair, which activates the layers naturally. Straight hair may need a texture spray at the roots for lift since it has less natural movement to work with.
Does a pixie mullet work for fine hair?
A pixie mullet works well for fine hair when it’s cut with point-cutting and separated layers instead of heavy thinning shears, which can leave ends looking sparse. A shorter, denser crown adds visual volume where fine hair naturally falls flat. Keeping the nape section slightly shorter also helps fine hair hold its shape longer between washes.
Can curly hair be cut into a mixie?
Curly hair takes to the mixie shape well when it’s cut dry or checked as it dries, since curl shrinkage changes how the layers sit once they spring back up. A rounded crown and a slightly longer nape usually give curls the best shape without cutting them into an unintentional triangle. A stylist experienced with natural texture makes a noticeable difference here.
How often do you need to trim a pixie mullet?
A cropped, short version needs a trim about every four to six weeks to keep the crown from looking overgrown, while a shaggier, longer-nape version can stretch further between visits. Fringe style affects this too, since a micro fringe needs trimming roughly every two weeks. The longer mullet section at the back is more forgiving of grow-out than the crown.


